DIY Projects for Kids
By Katy S
 Now that school is back in session or close to it, let’s explore a few fun DIY projects that your child might make in school. You can even do these projects with your kids at home.
Dioramas
Alicia Bodine posted three terrific diorama designs with instructions at About Home. The desert and ocean dioramas are recommended for ages 3 and above while the forest diorama is for ages 5 and above. The time to complete the dioramas takes anywhere from one hour to three hours. As they are making these dioramas, your children learn about the different habitats and the creatures that live there.
Of course, the first item you need is a box. An old shoebox works great as the base of the diorama. You’ll also need safety scissors, construction paper, glue, paint, paintbrush, and magazine clippings. The desert and ocean dioramas require sand and the forest one calls for grass or green felt. And then add any figurines; you can even make your own using clay or Play-Doh.
Bookmarks
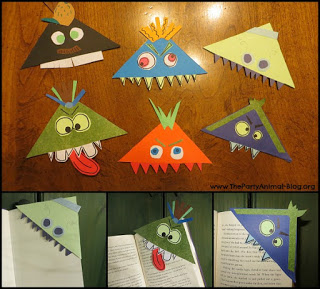
An easy DIY project for kids is a bookmark. ThePartyAnimal.org created these fun monster bookmarks. Gather colorful construction paper, tape, glue, scissors, and markers. First fold the corner of the construction paper, next cut the triangle that the paper forms, and then cut the triangle in half. Finally, tape the shorter sides together. This is the base of the “monster.” You can then add the design elements—teeth, eyes, whatever your little one wants.
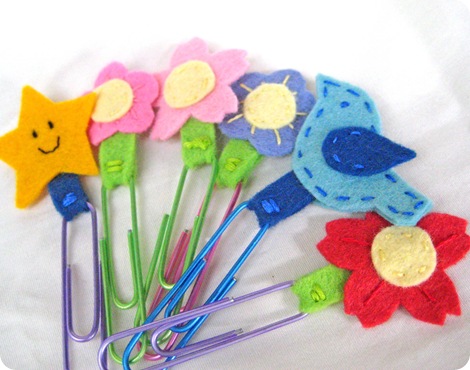
Kimberly Layton at Everything Etsy crafted a simple bookmark using felt and large paper clips. Just cut your felt to a two-inch strip and wrap around the end of a paper clip. Secure the felt with needle and thread or with hot glue. You can then cut out felt shapes and adhere them to the main felt piece using thread or glue.
Cards
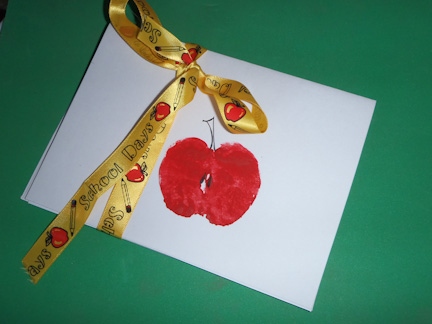
Kid’s Crafts Contributor Stephanie made this cute apple note card. All you need are note cards or heavy paper, a halved apple, red paint, and black marker or pen. Dip the apple half in the red paint and stamp on to the note cards. After the paint dries, your child can add the apple core and stem with a black pen or fine-tip marker.
Using index cards, a marker, stickers, glue, and sand, these counting cards by Jenae are a fun, effective way for your young child to learn numbers. Write one number on each card; if your child is just starting to count, then stick with numbers one through ten. Flip the card, and adhere the same number of stickers on the back. Then on the front, trace the number with glue and pour sand on top. After the glue and sand dry, your child is able to see and feel the numeral on the front and count the same number of stickers on the back.
Do you have any ideas for fun and educational DIY projects for kids? Let us know in the comments below or on Facebook, Twitter, or Pinterest.


